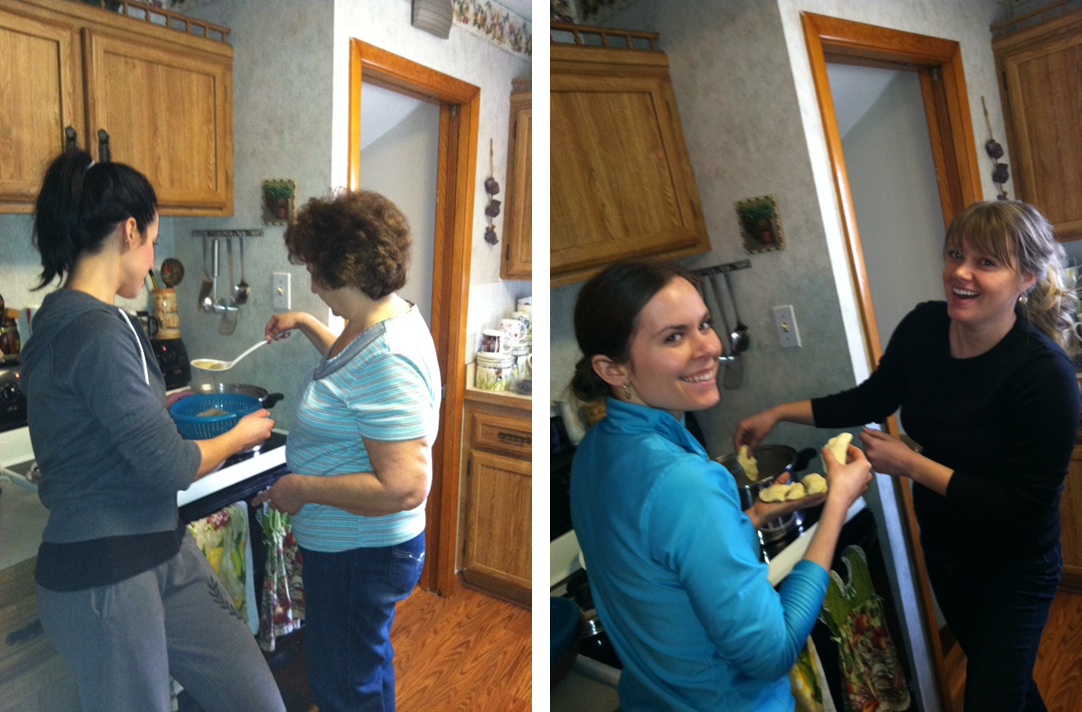
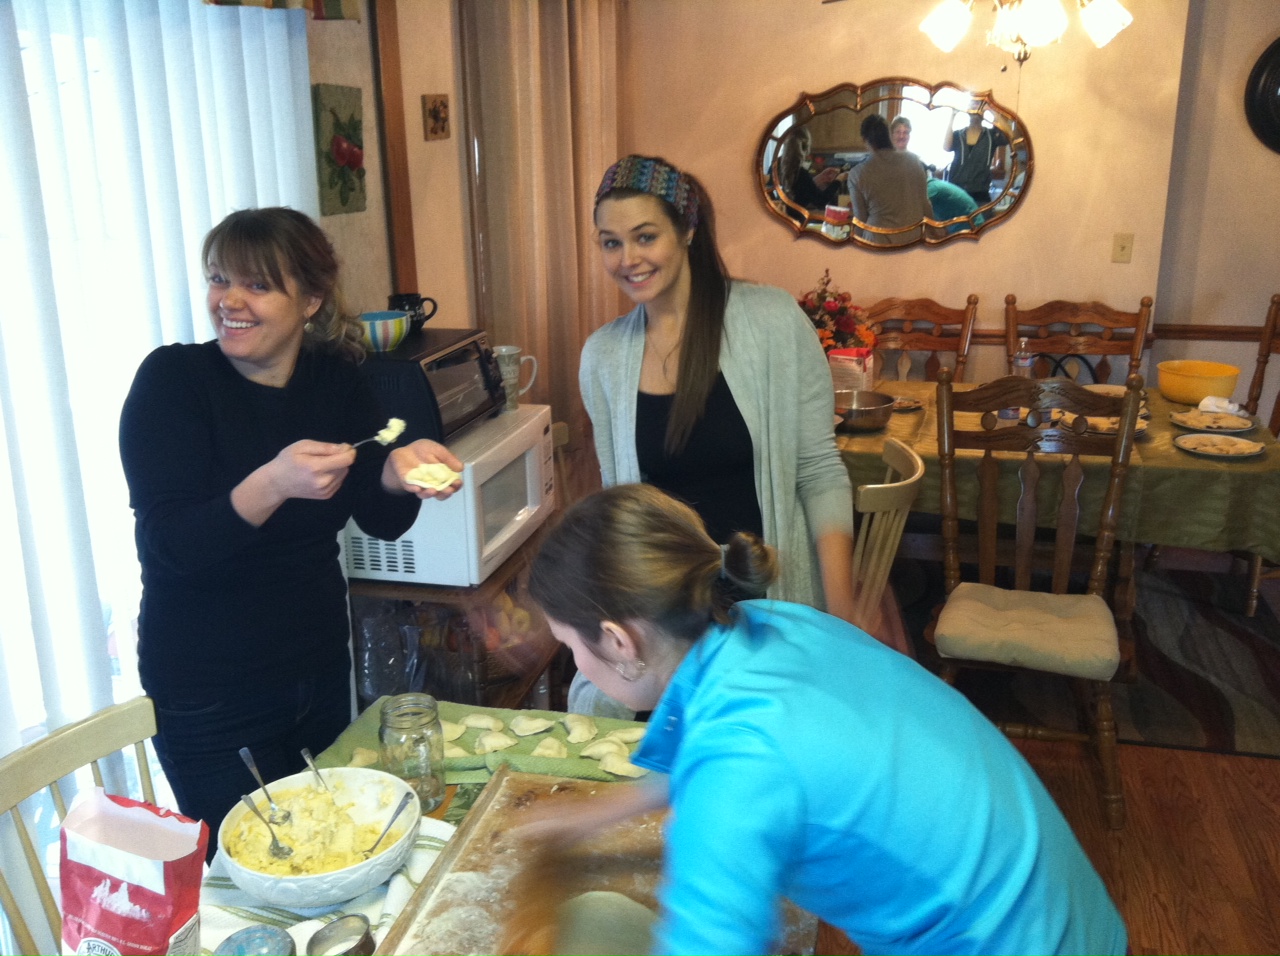
A killer breakfast, friends and pierogies; what a great way to kick-off a Saturday! I am beyond blessed to have an amazing friend (Jenny) who is a tall, beautiful, adventurous, Polish girl who will be, mark my words the next Katie Couric. Naturally, when you have a Polish friend pierogies come up in conversation. Over dinner one night a few of us girls started discussing our love for these heavenly, potato-filled pockets of dough. So we were thrilled when Jenny invited us over to learn how to make authentic polish pierogies from two of the best in town, Mama Popis, Jenny’s Mom, and Grace, Jenny’s aunt. You should have seen Jared’s face when he found out I was not only going to learn how to make pierogies, but also bring home a few dozen from the cooking lesson. So this past Saturday we woke up early, wore our stretchy yoga pants and met at Mama Popis’ to learn the art of pierogi making.
Jenny forewarned us stretchy pants were a must, and this picture should partially explain why. And this was JUST breakfast!

It was as good as it looks!
After we were done stuffing ourselves and cleaning our plates, a Mama Popis rule, the pierogi lesson began. Before we got started Grace filled us in on the secret to a great pierogi: simple ingredients. The more complicated you make it the more you diminish what makes a pierogi so great. In order to save time Mama Popis made the pierogi filling the night before so it could chill overnight.
Here are her Pierogi filling ingredients:
- 8-9 pounds of potatoes, cooked and mashed
- 2 sticks of Philadelphia cream cheese
- 1-1 1/2 cups of American cheese (or any cheese you prefer)
Grace also made her own pierogi filling which consisted of sauteed onions and farmers cheese (cottage cheese).
Then they revealed the surprisingly simple ingredients for the dough:
- Lukewarm water
- Good flour (NOT Pillsbury)
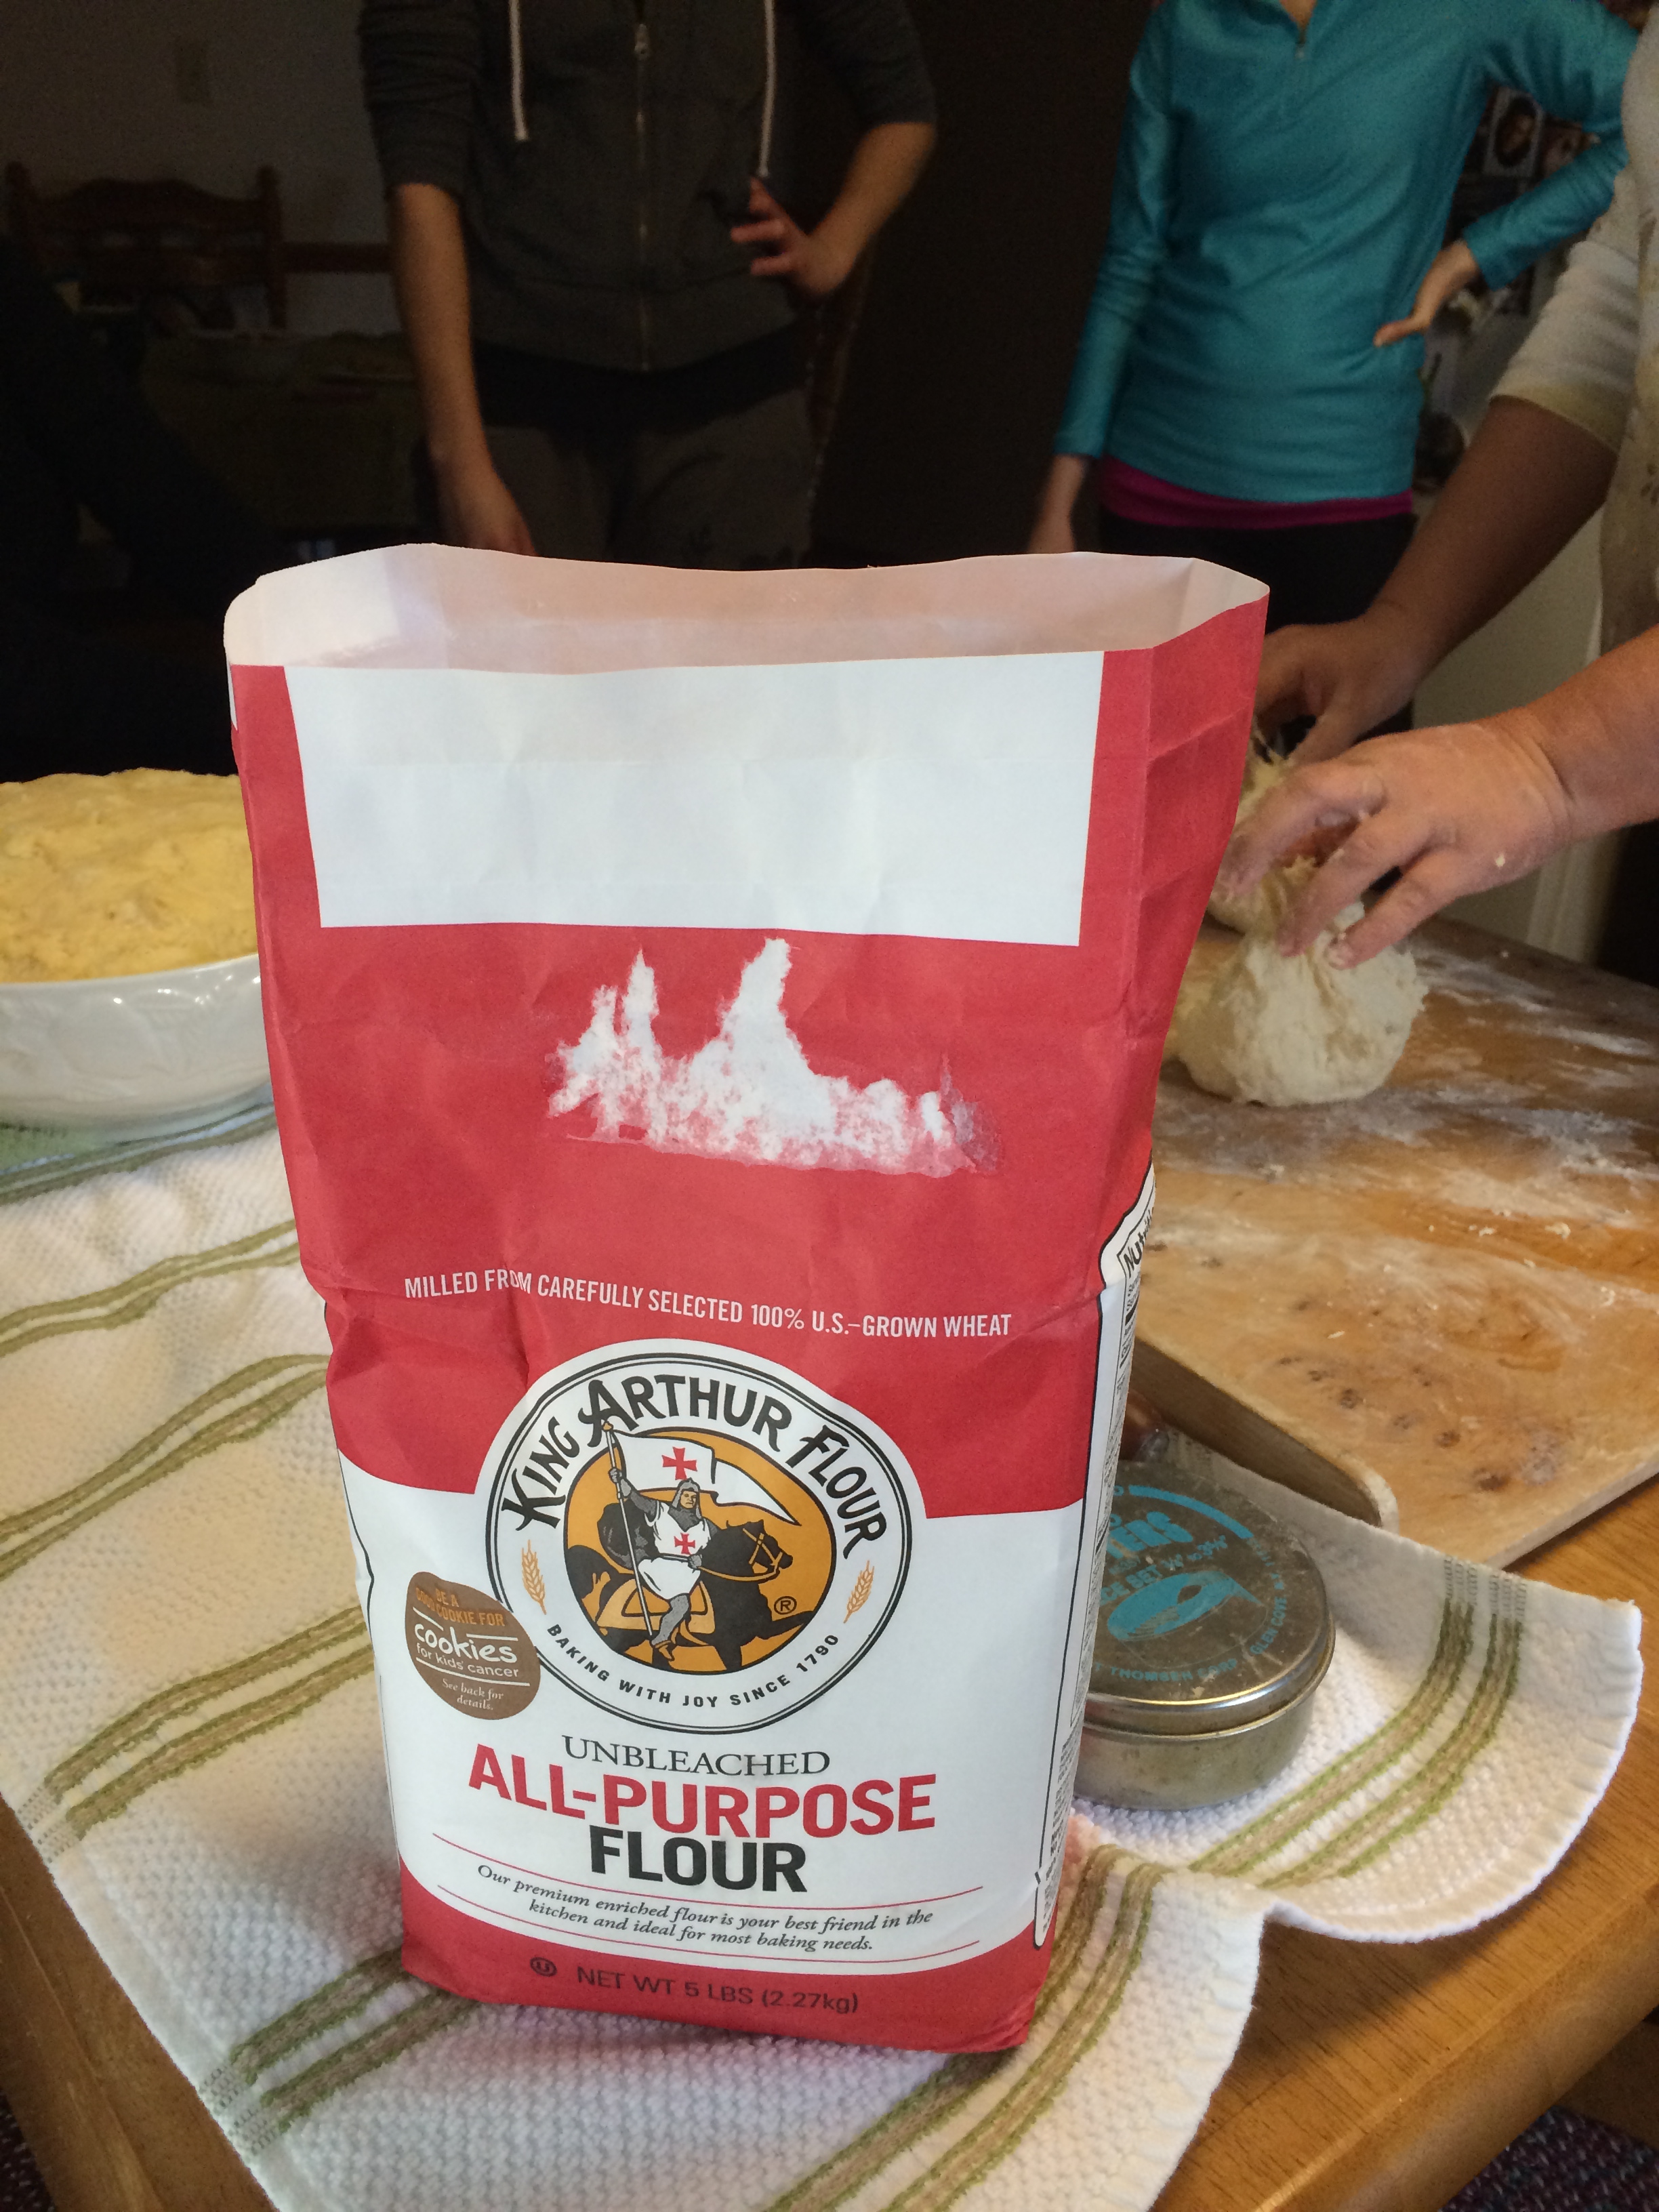
King Arthur is their flour of choice.
Below are the 7 steps we learned for making a delicious Polish pierogi. I hope this helps bring you just a small glimpse of this awesome experience!
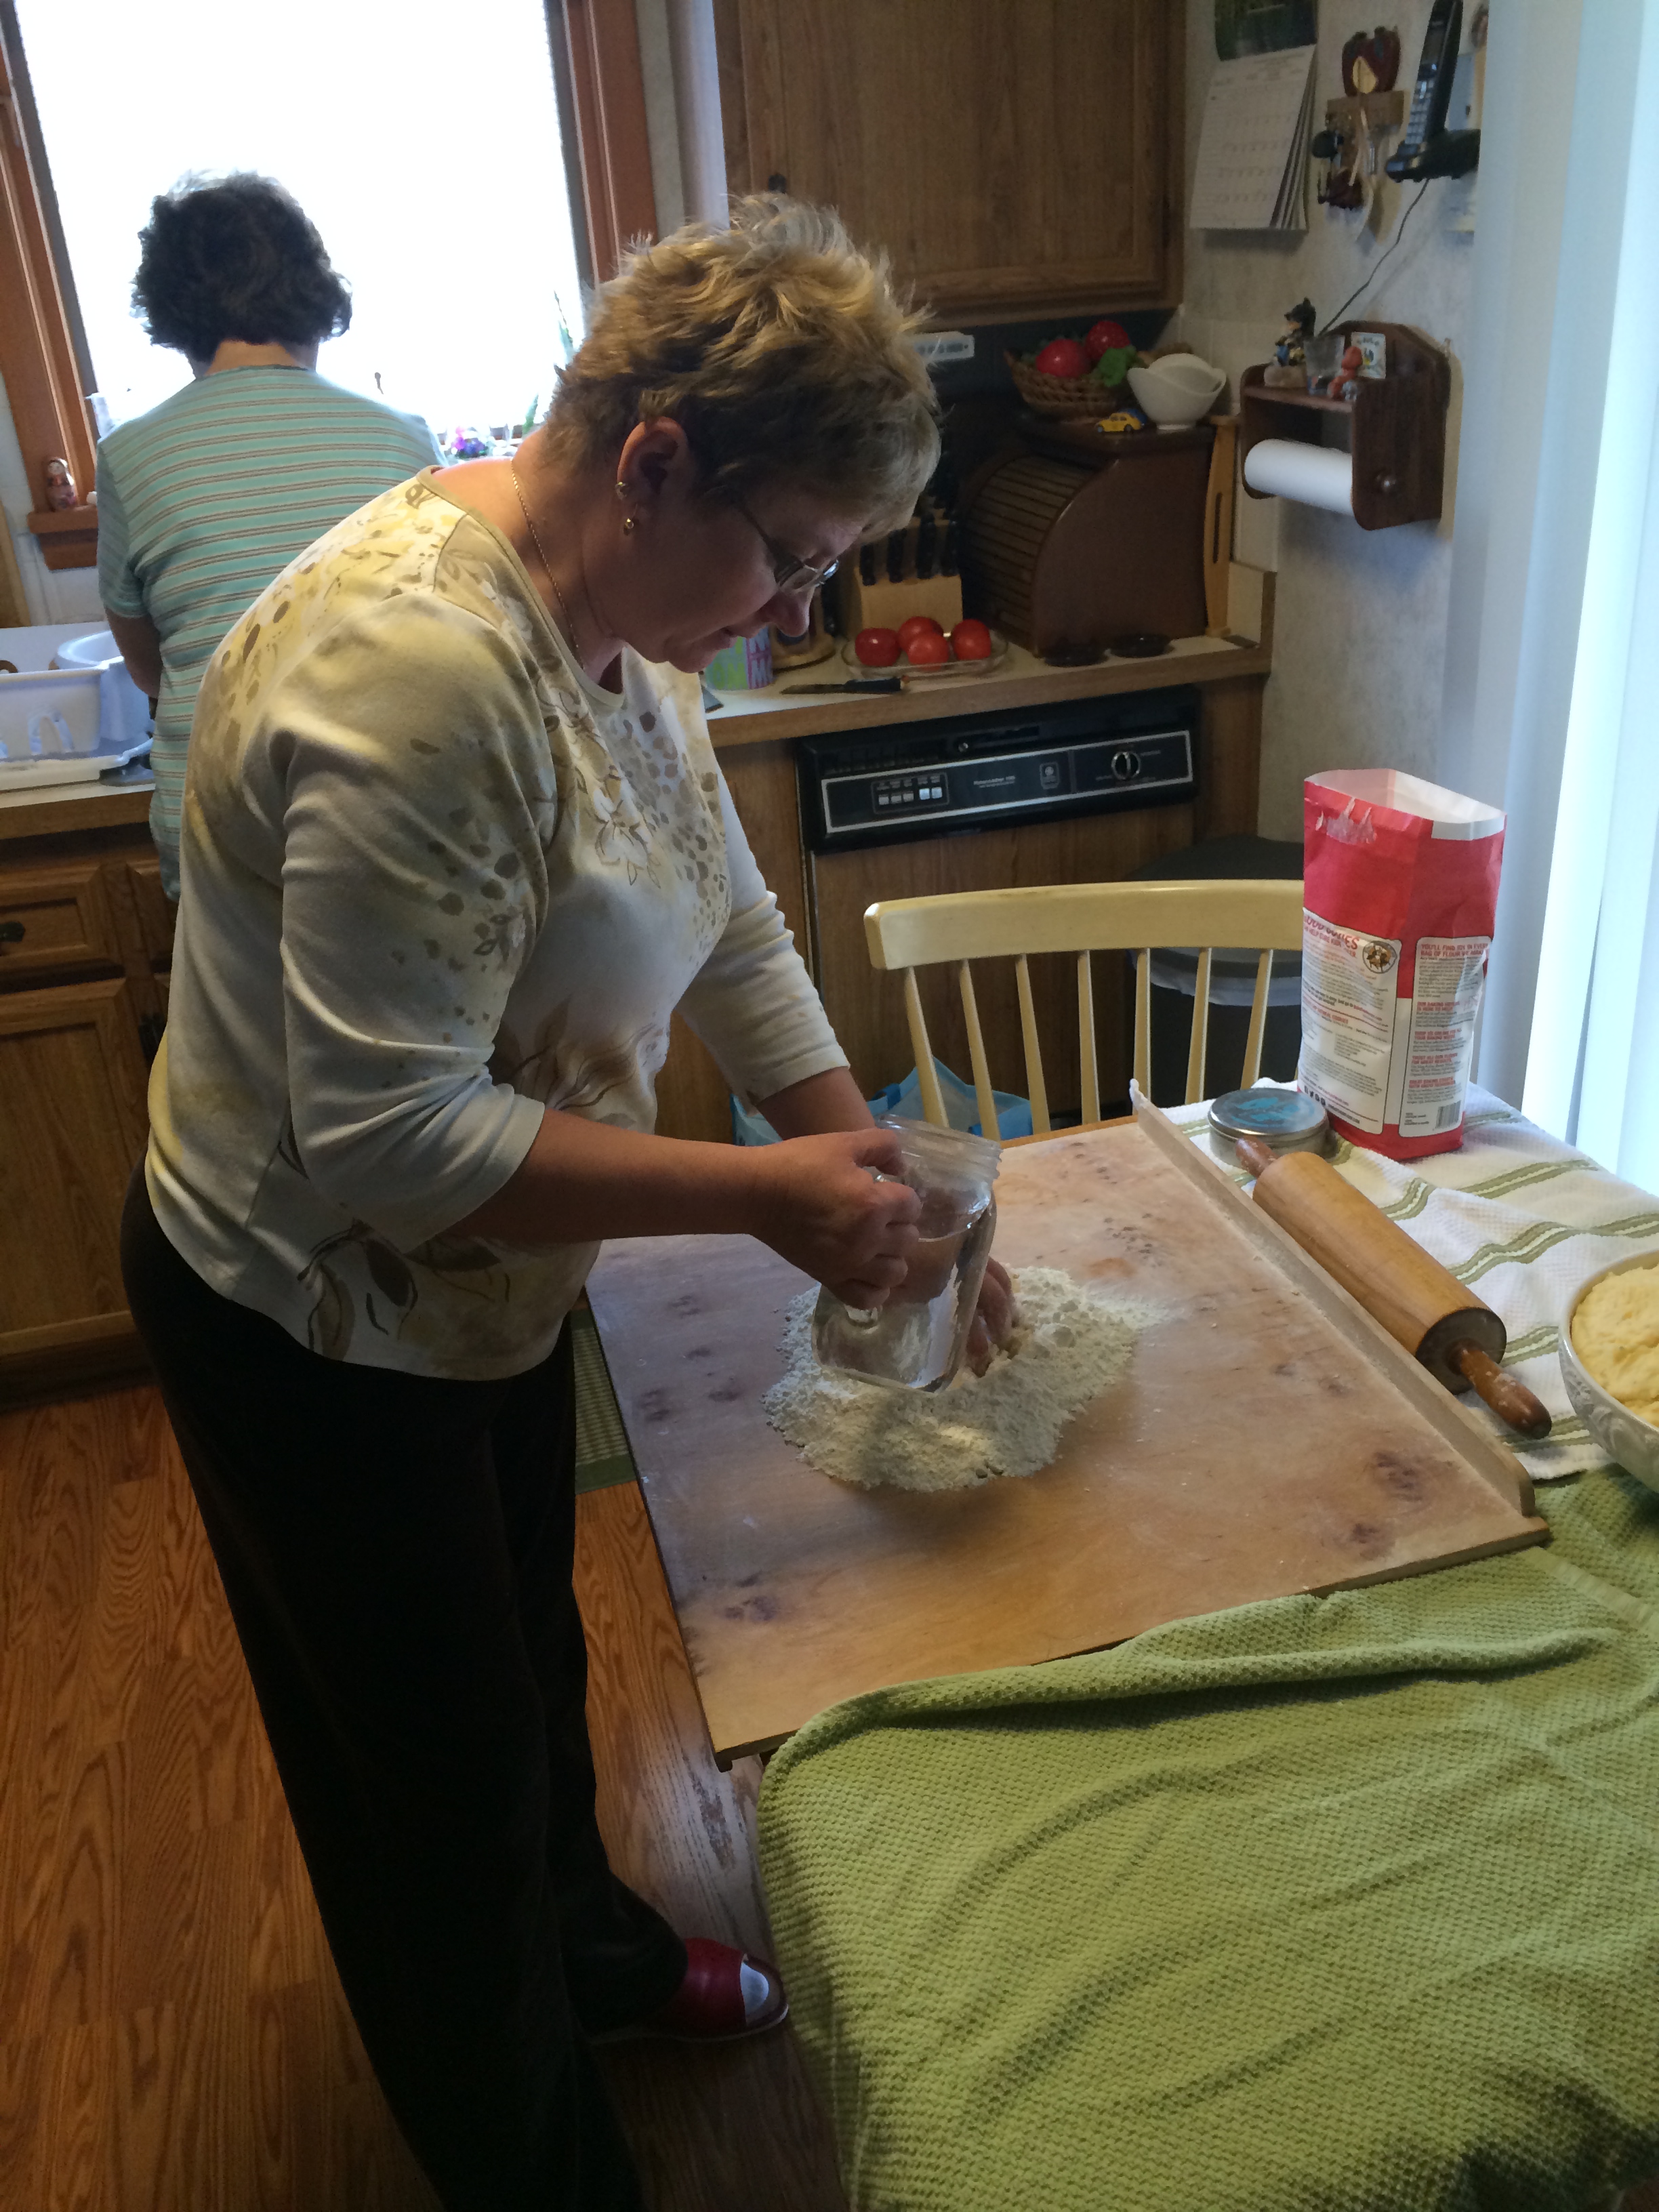
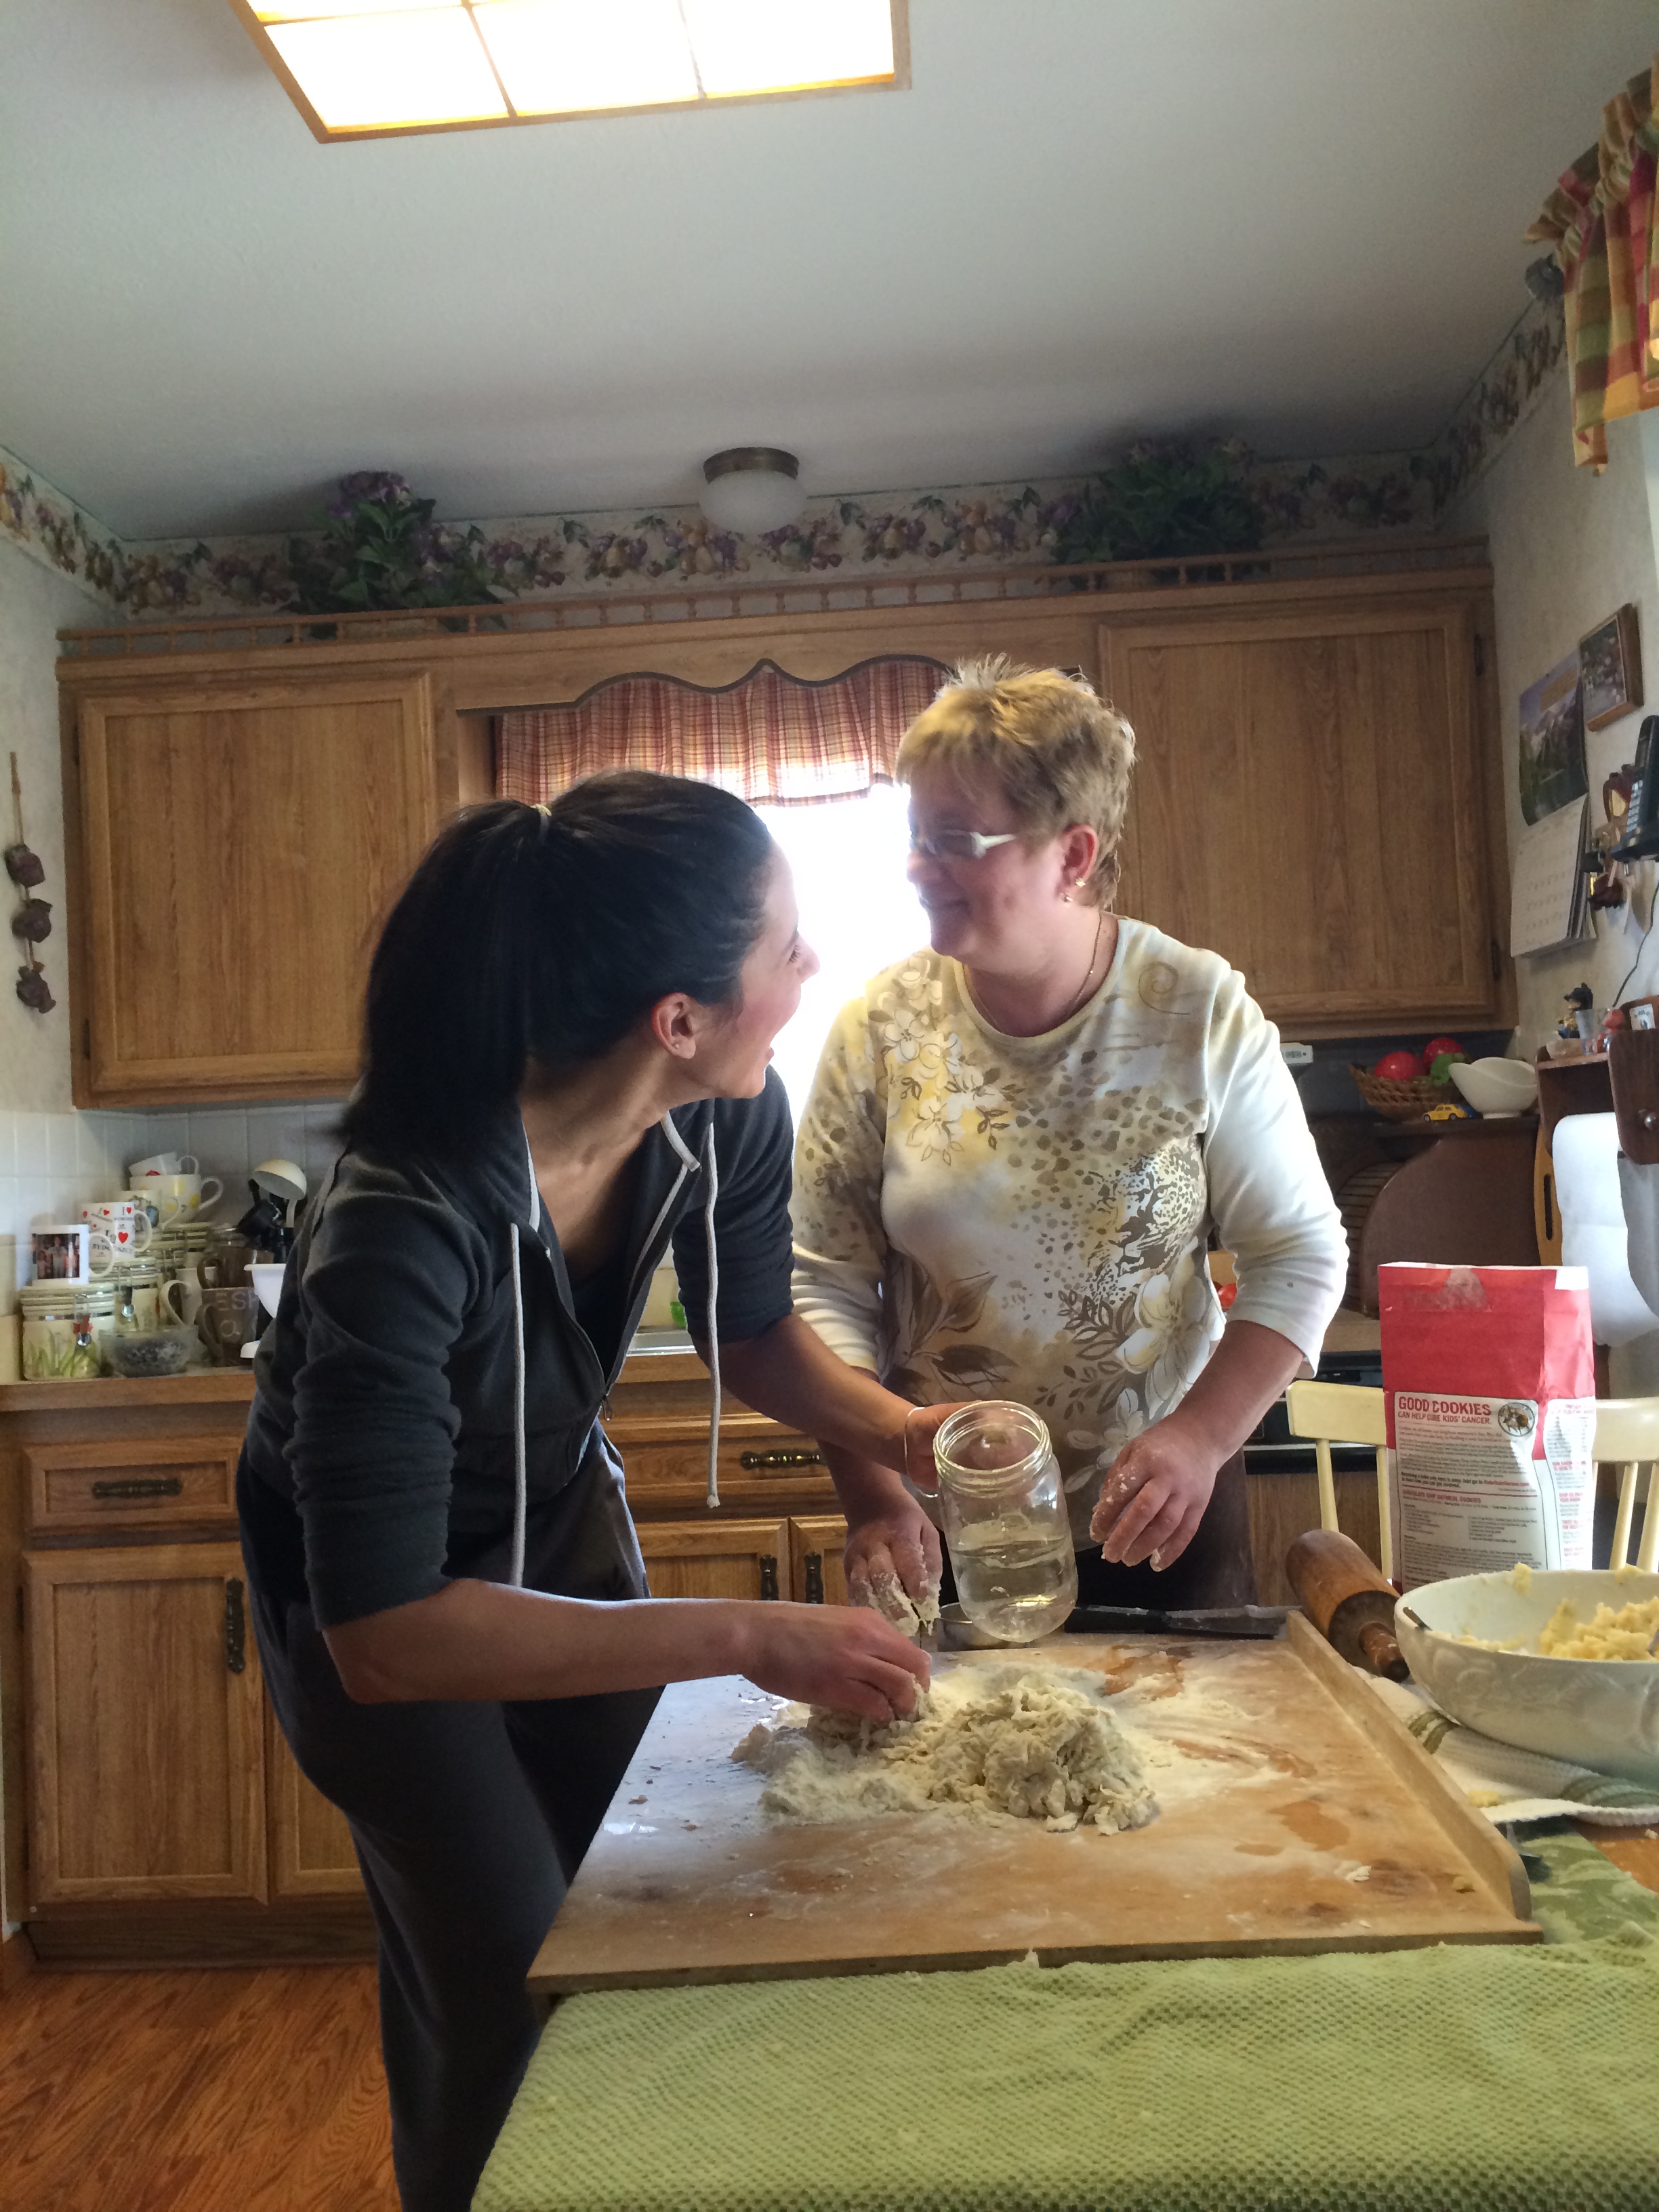
Grace made this look like child’s play. I however found it to be the hardest step!
Step 1: Mixing
- Pour about a medium pile of flour on a flat surface (these ladies go by gut feeling).
- Make a hole in the center of the flour to keep the water from running out (I learned this the hard way).
- Use one hand to combine the flour and water as you pour small amounts into the center of the flour.
- As you pour the water in gently use your hand to progressively add more flour to the mixture. Be careful not to over work the dough or squeeze it too much as it will make the dough tough.
- The key to pierogi dough is to make it in small batches as you go along so that the dough does not dry out or get tough.
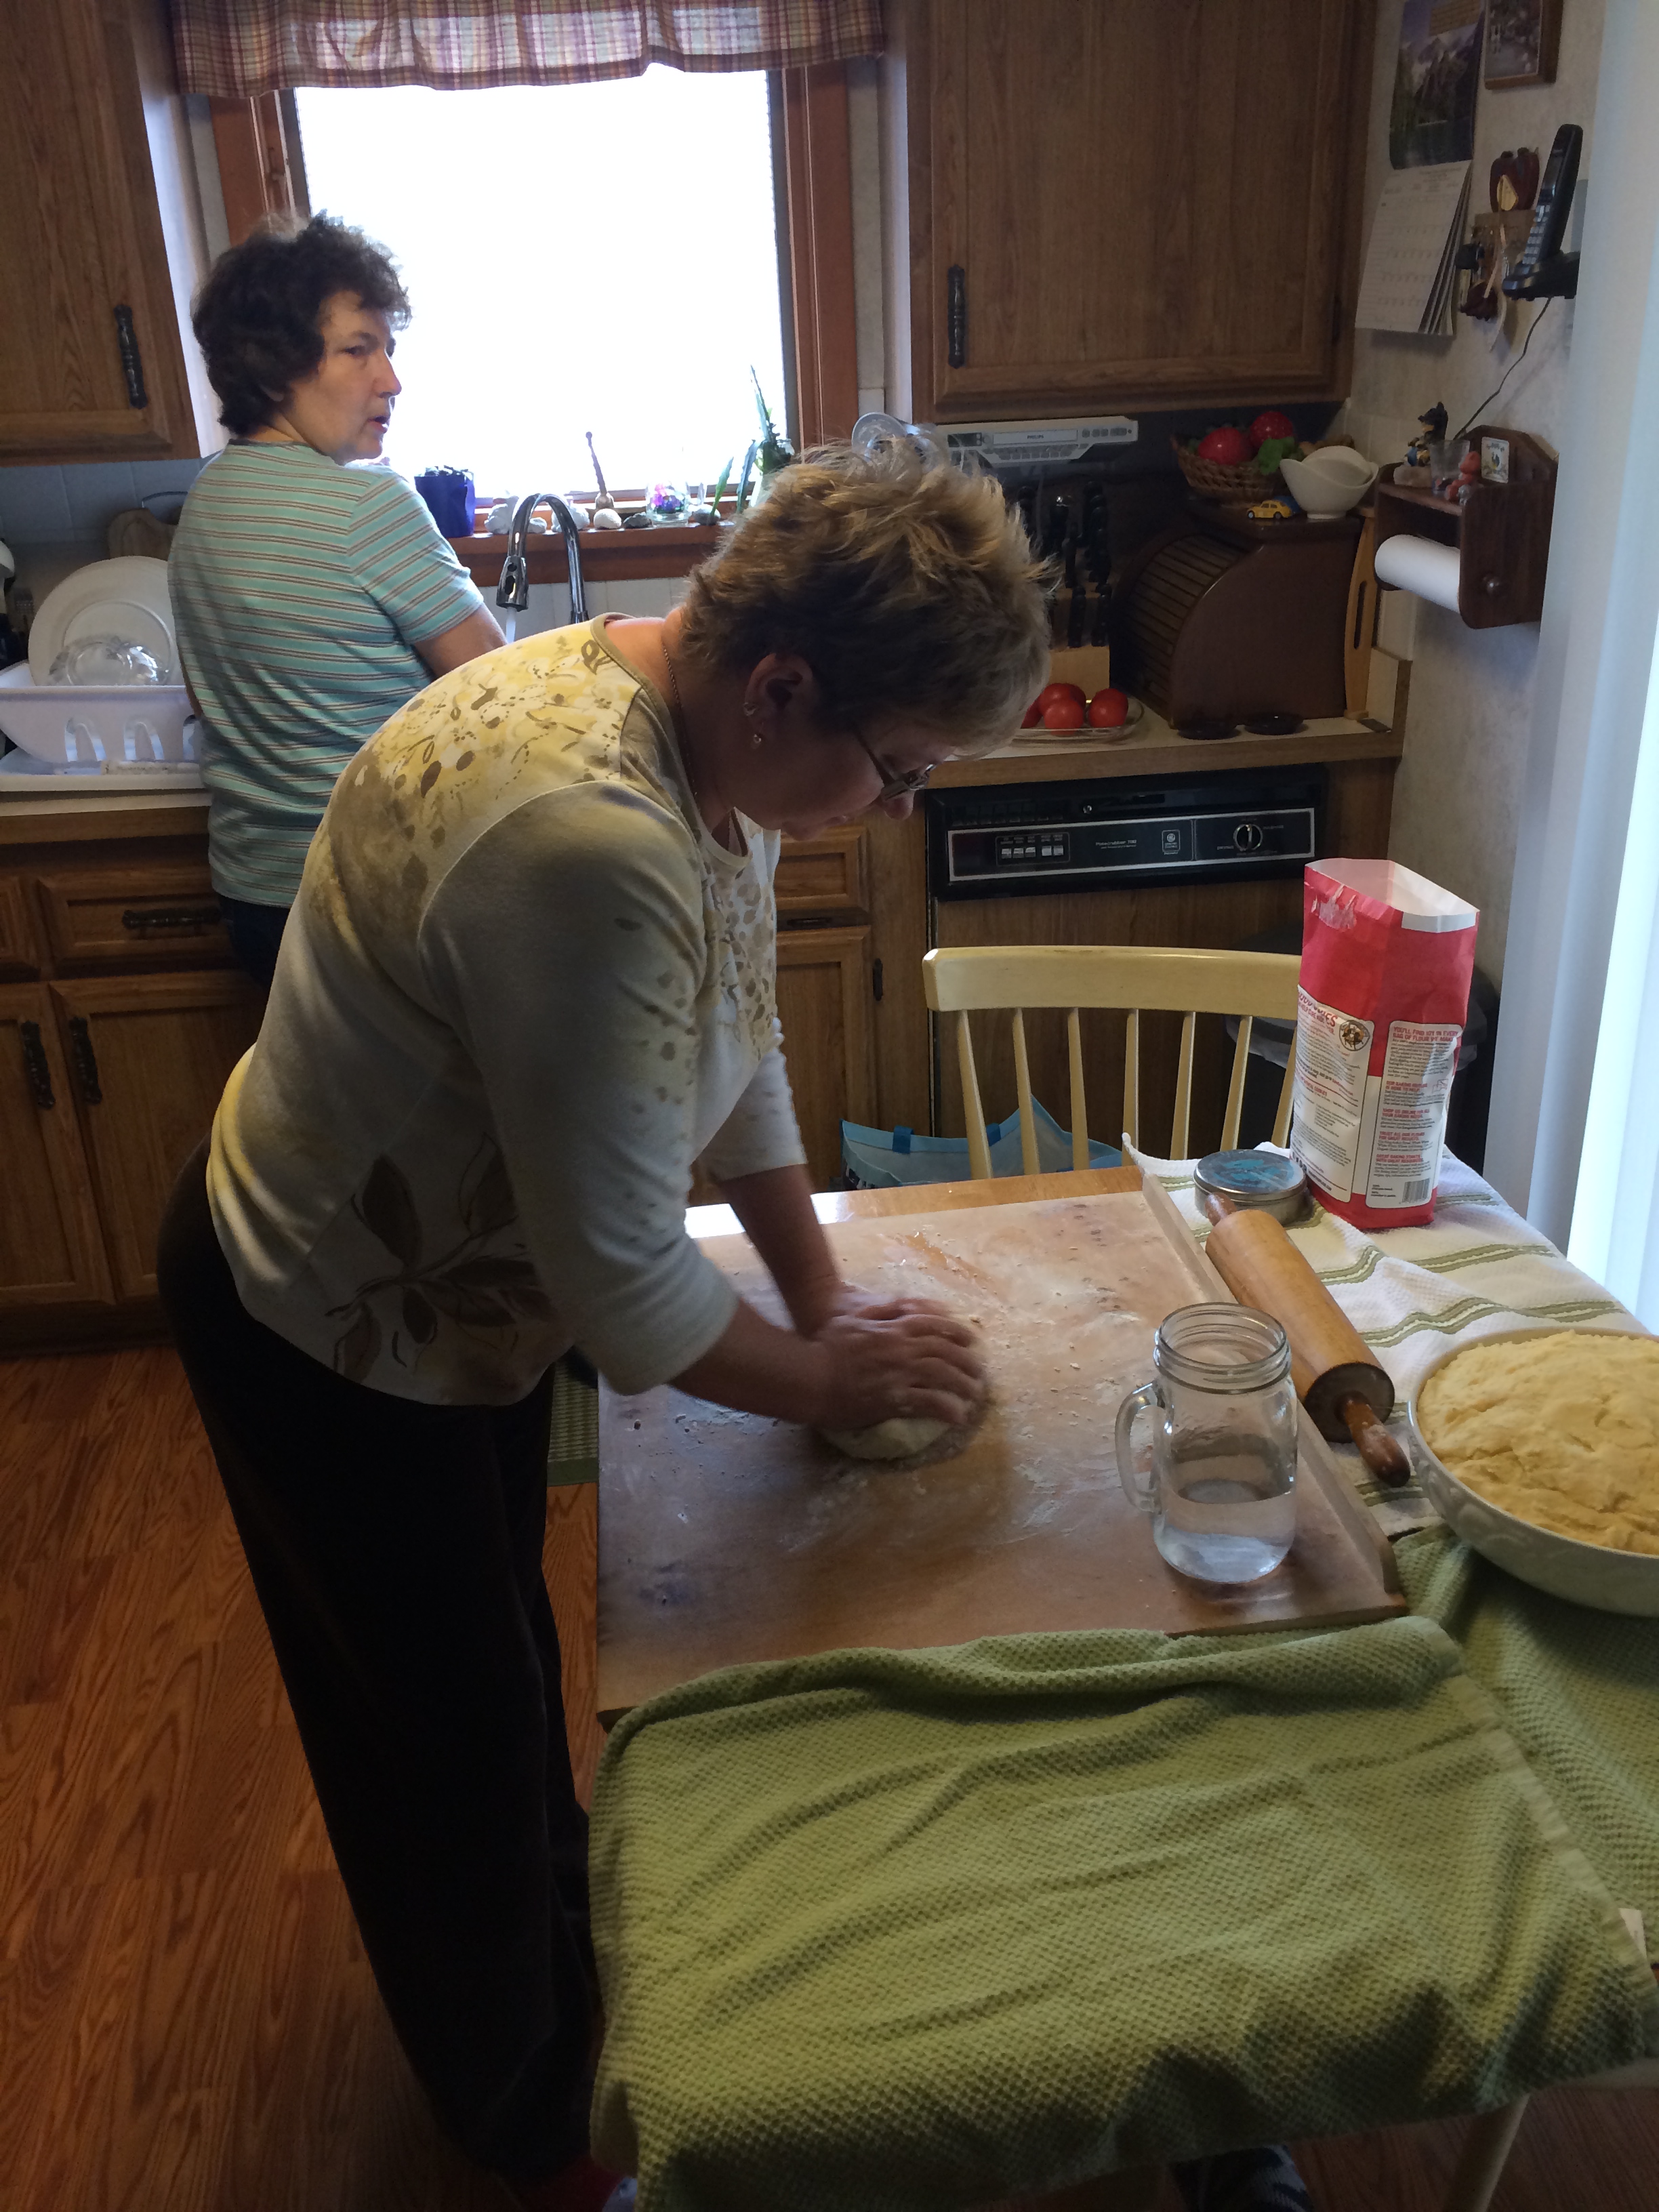
Great upper arm workout! Grace had some guns.
Step 2: Kneading
- Keep adding water until you have all of the flour mostly- combined.
- The dough should be just a little sticky to touch.
- Then take both hands and gently knead the dough to finish combining the flour and water.
- The dough can still look and feel a little rough when you are done, it does not nor should it be completely smooth.
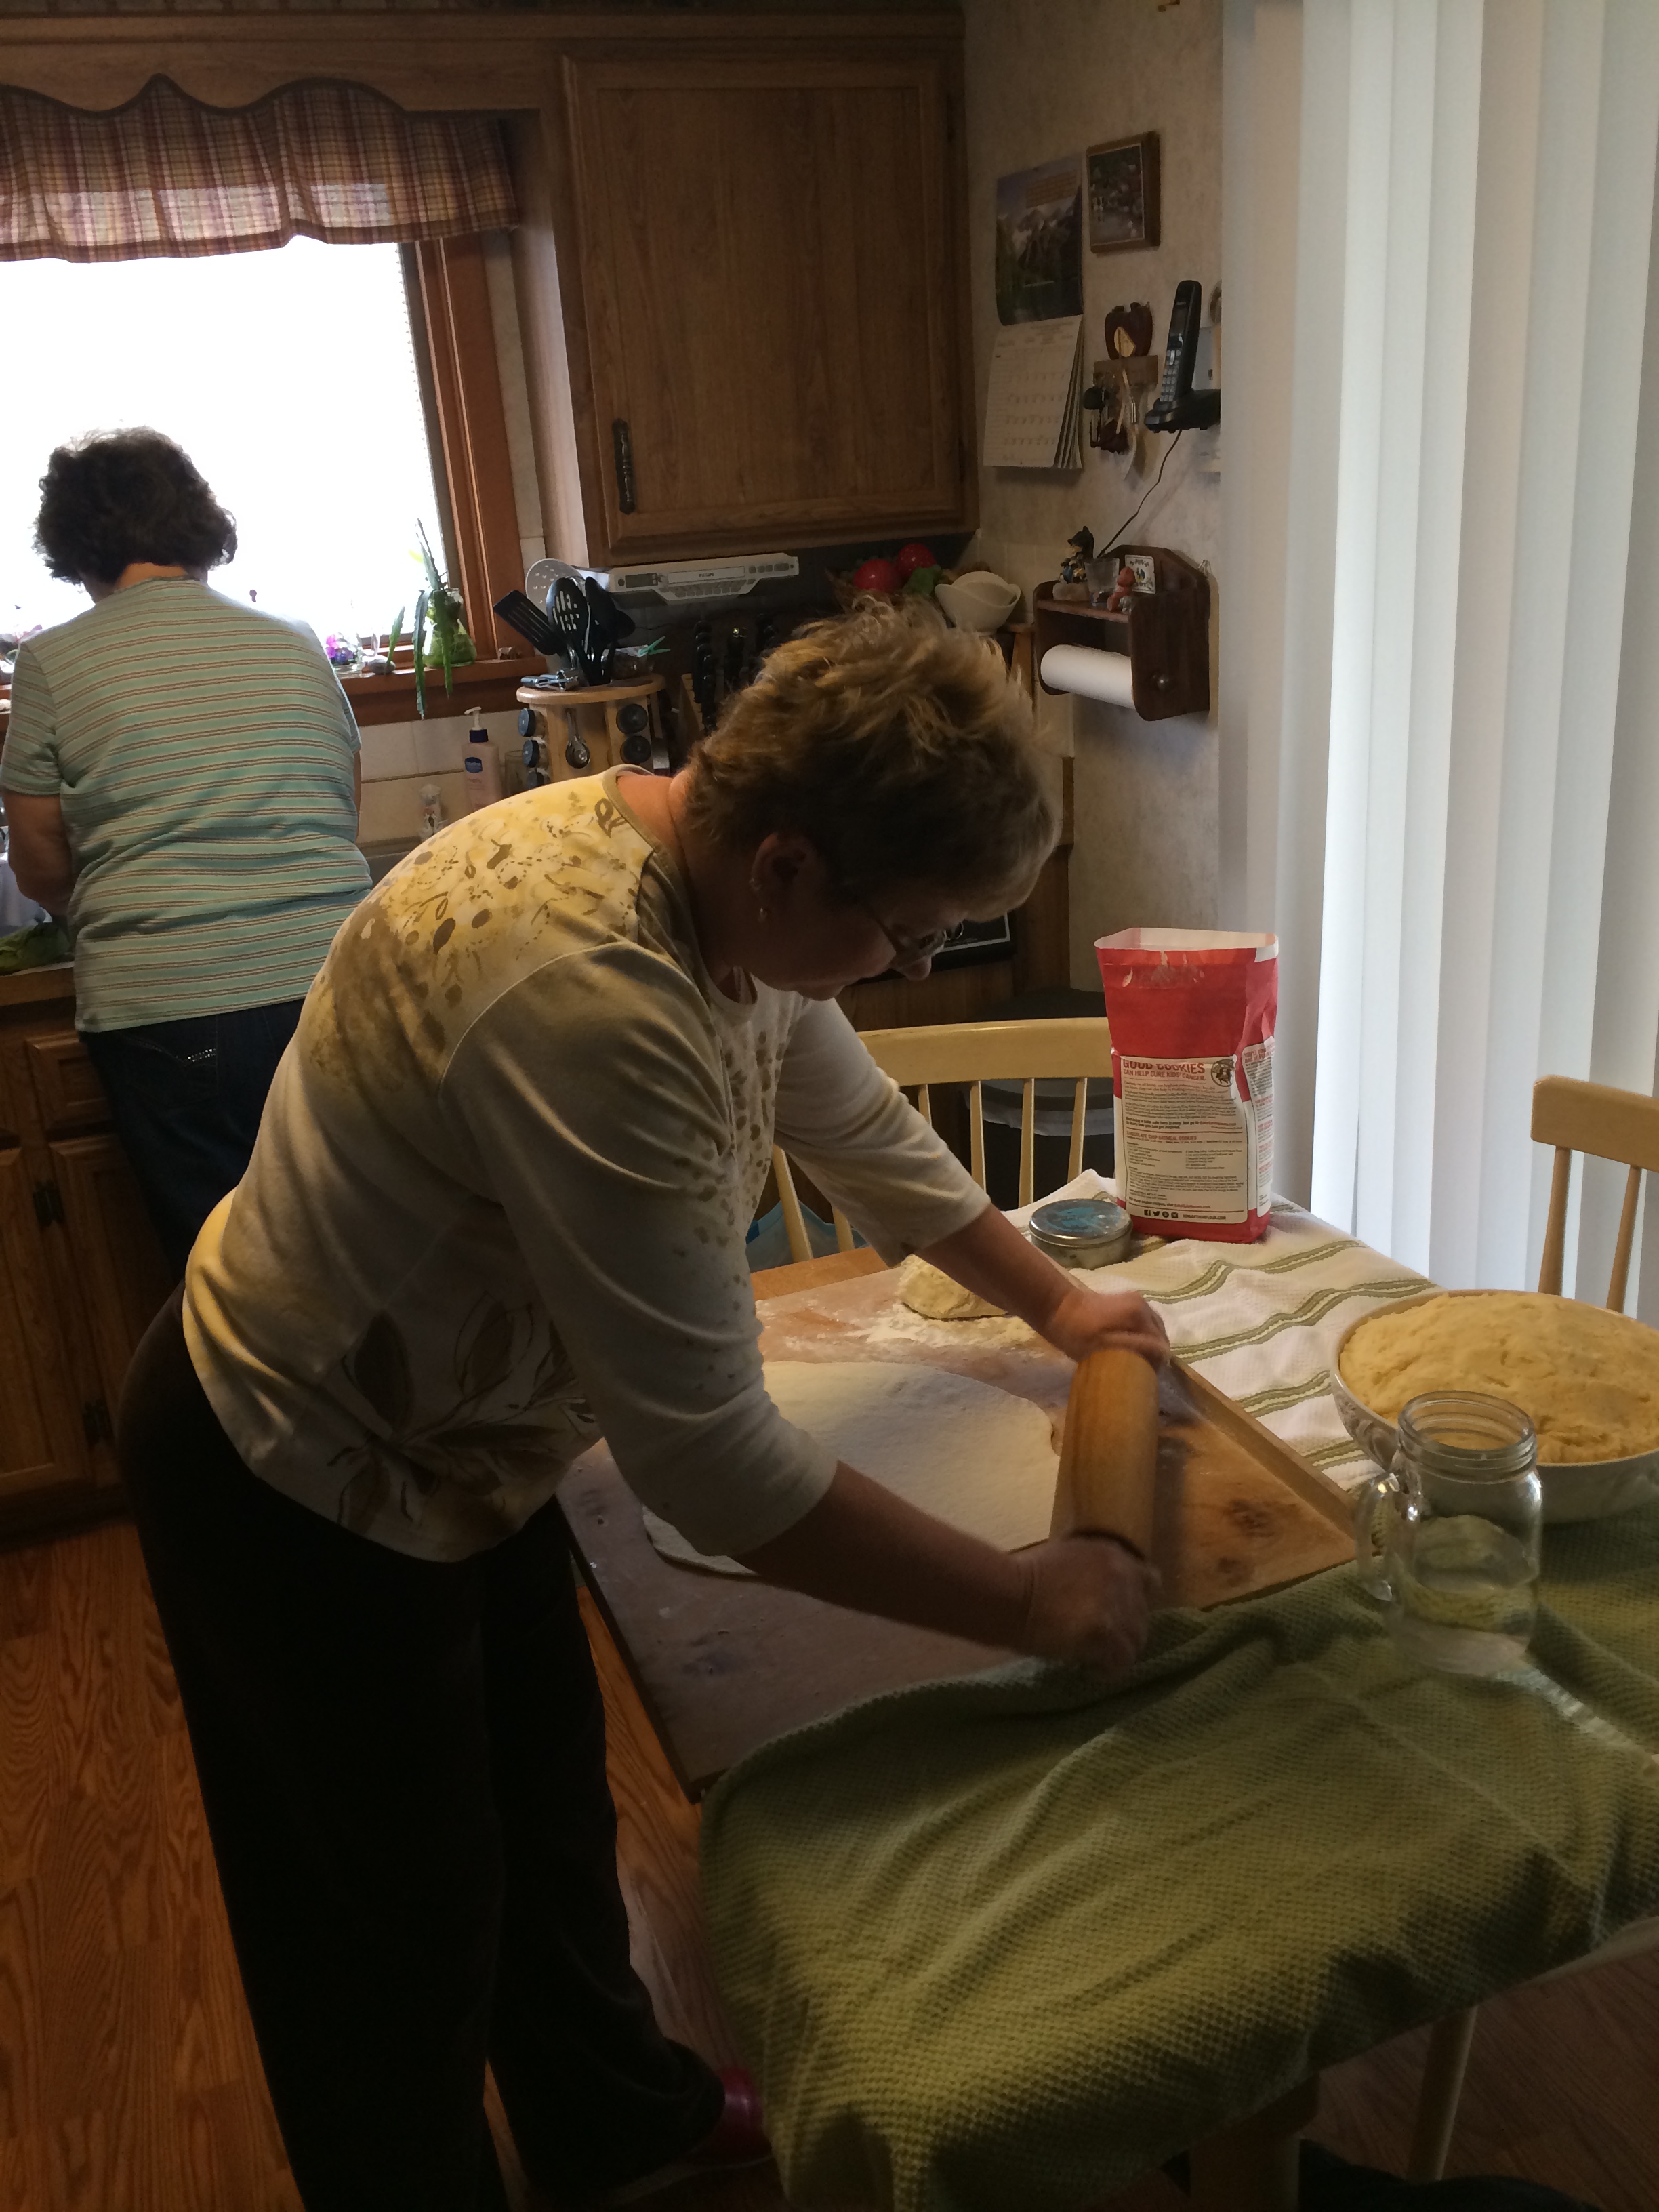
Just keep rolling. Just keep rolling.
Step 3: Rolling
- Once the dough is done split it in half, put just a little bit of flour down on your rolling surface and on top of one of the dough ball halves.
- Then roll the dough out using a rolling pin to about a quarter of an inch thickness, flipping the dough every so often.
- Once the dough is ready to be cut, take a little bit of flour in your hand and give the dough a little flour massage.

Grace did this at warp speed.
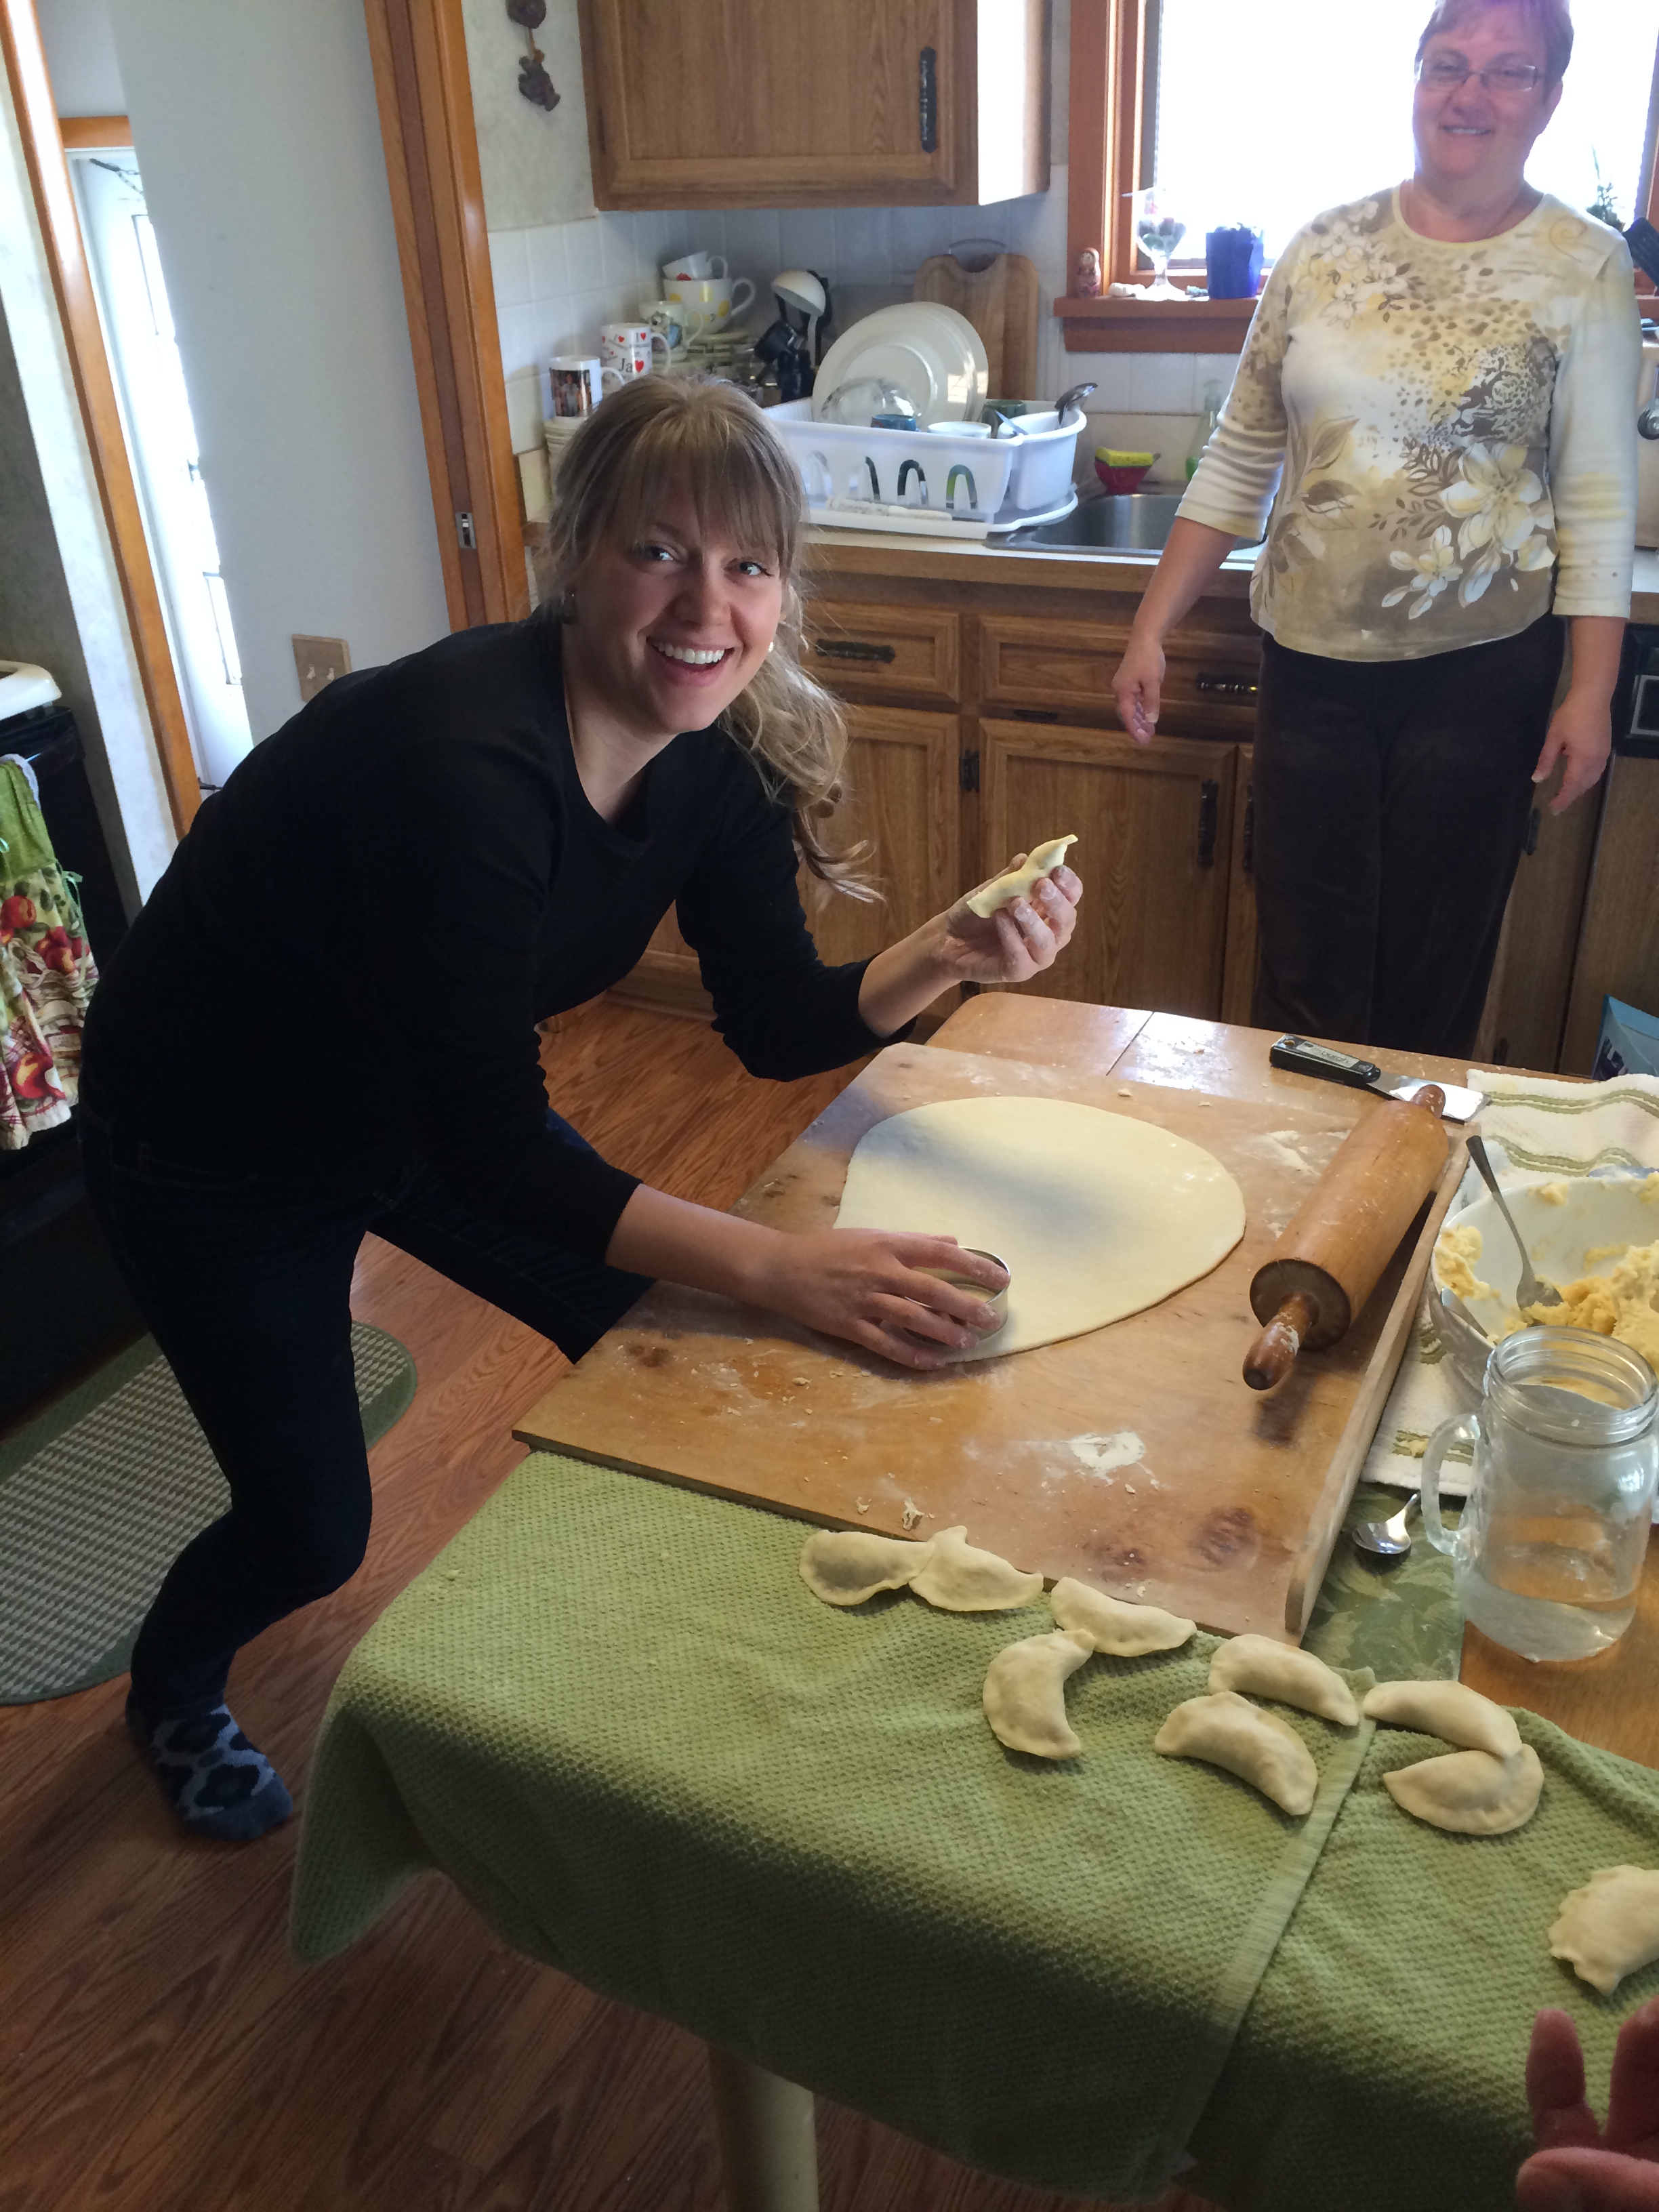
Step 4: Cutting
- Use a circle cookie cutter to cut the dough into individual circles.
- The size we used was almost equal to the circumference of putting your index fingers and thumbs together.
- And then repeat the rolling process until all the dough is cut into pierogies.

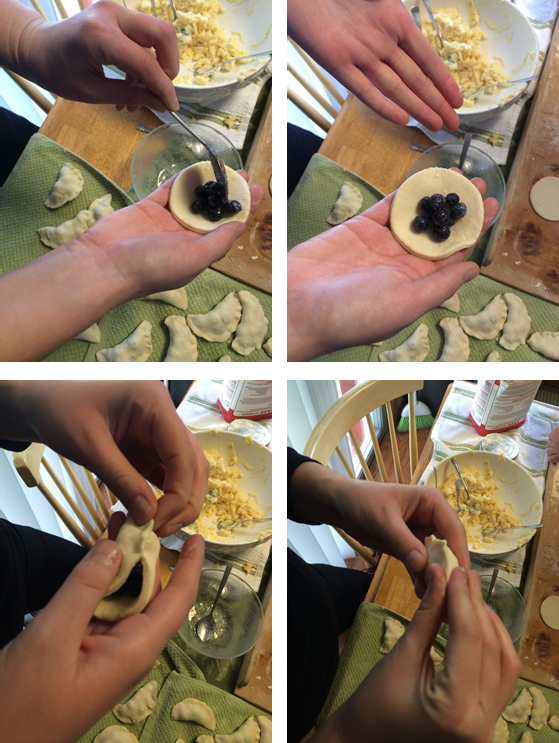
Stretch, scoop, fold and seal!
Step 5: Filling
- Take a circle of dough and give it a little stretch, don’t be afraid of it.
- Place a spoonful of your filling of choice in the center.
- User you thumb to hold the filling in place and stretch one end of the circle over the meet the other side.
- Then use your fingers to close up all the seems.
- The end result should look like a pillow. Thick and fluffy in the middle with a simple seam around it.
- Make sure the pierogies do not touch each other when you set them down to continue filling, they will stick together.
Watching water boil has never been more fun!
Step 6: Cooking
- Prepare a large pot of boiling water with salt and some oil so the pierogies do not stick to one another
- Place 20-25 pierogies at a time in the pot to boil. Once they rise to the top they are done.
- Use a strainer to remove them from the pot so you can save the water for more pierogi dropping later.
- Transfer the pierogies to a plate where they can start to cool. Do not stack them.
- If you are making a second (or fourth) batch start working on the next batch of dough while the first batch cooks.
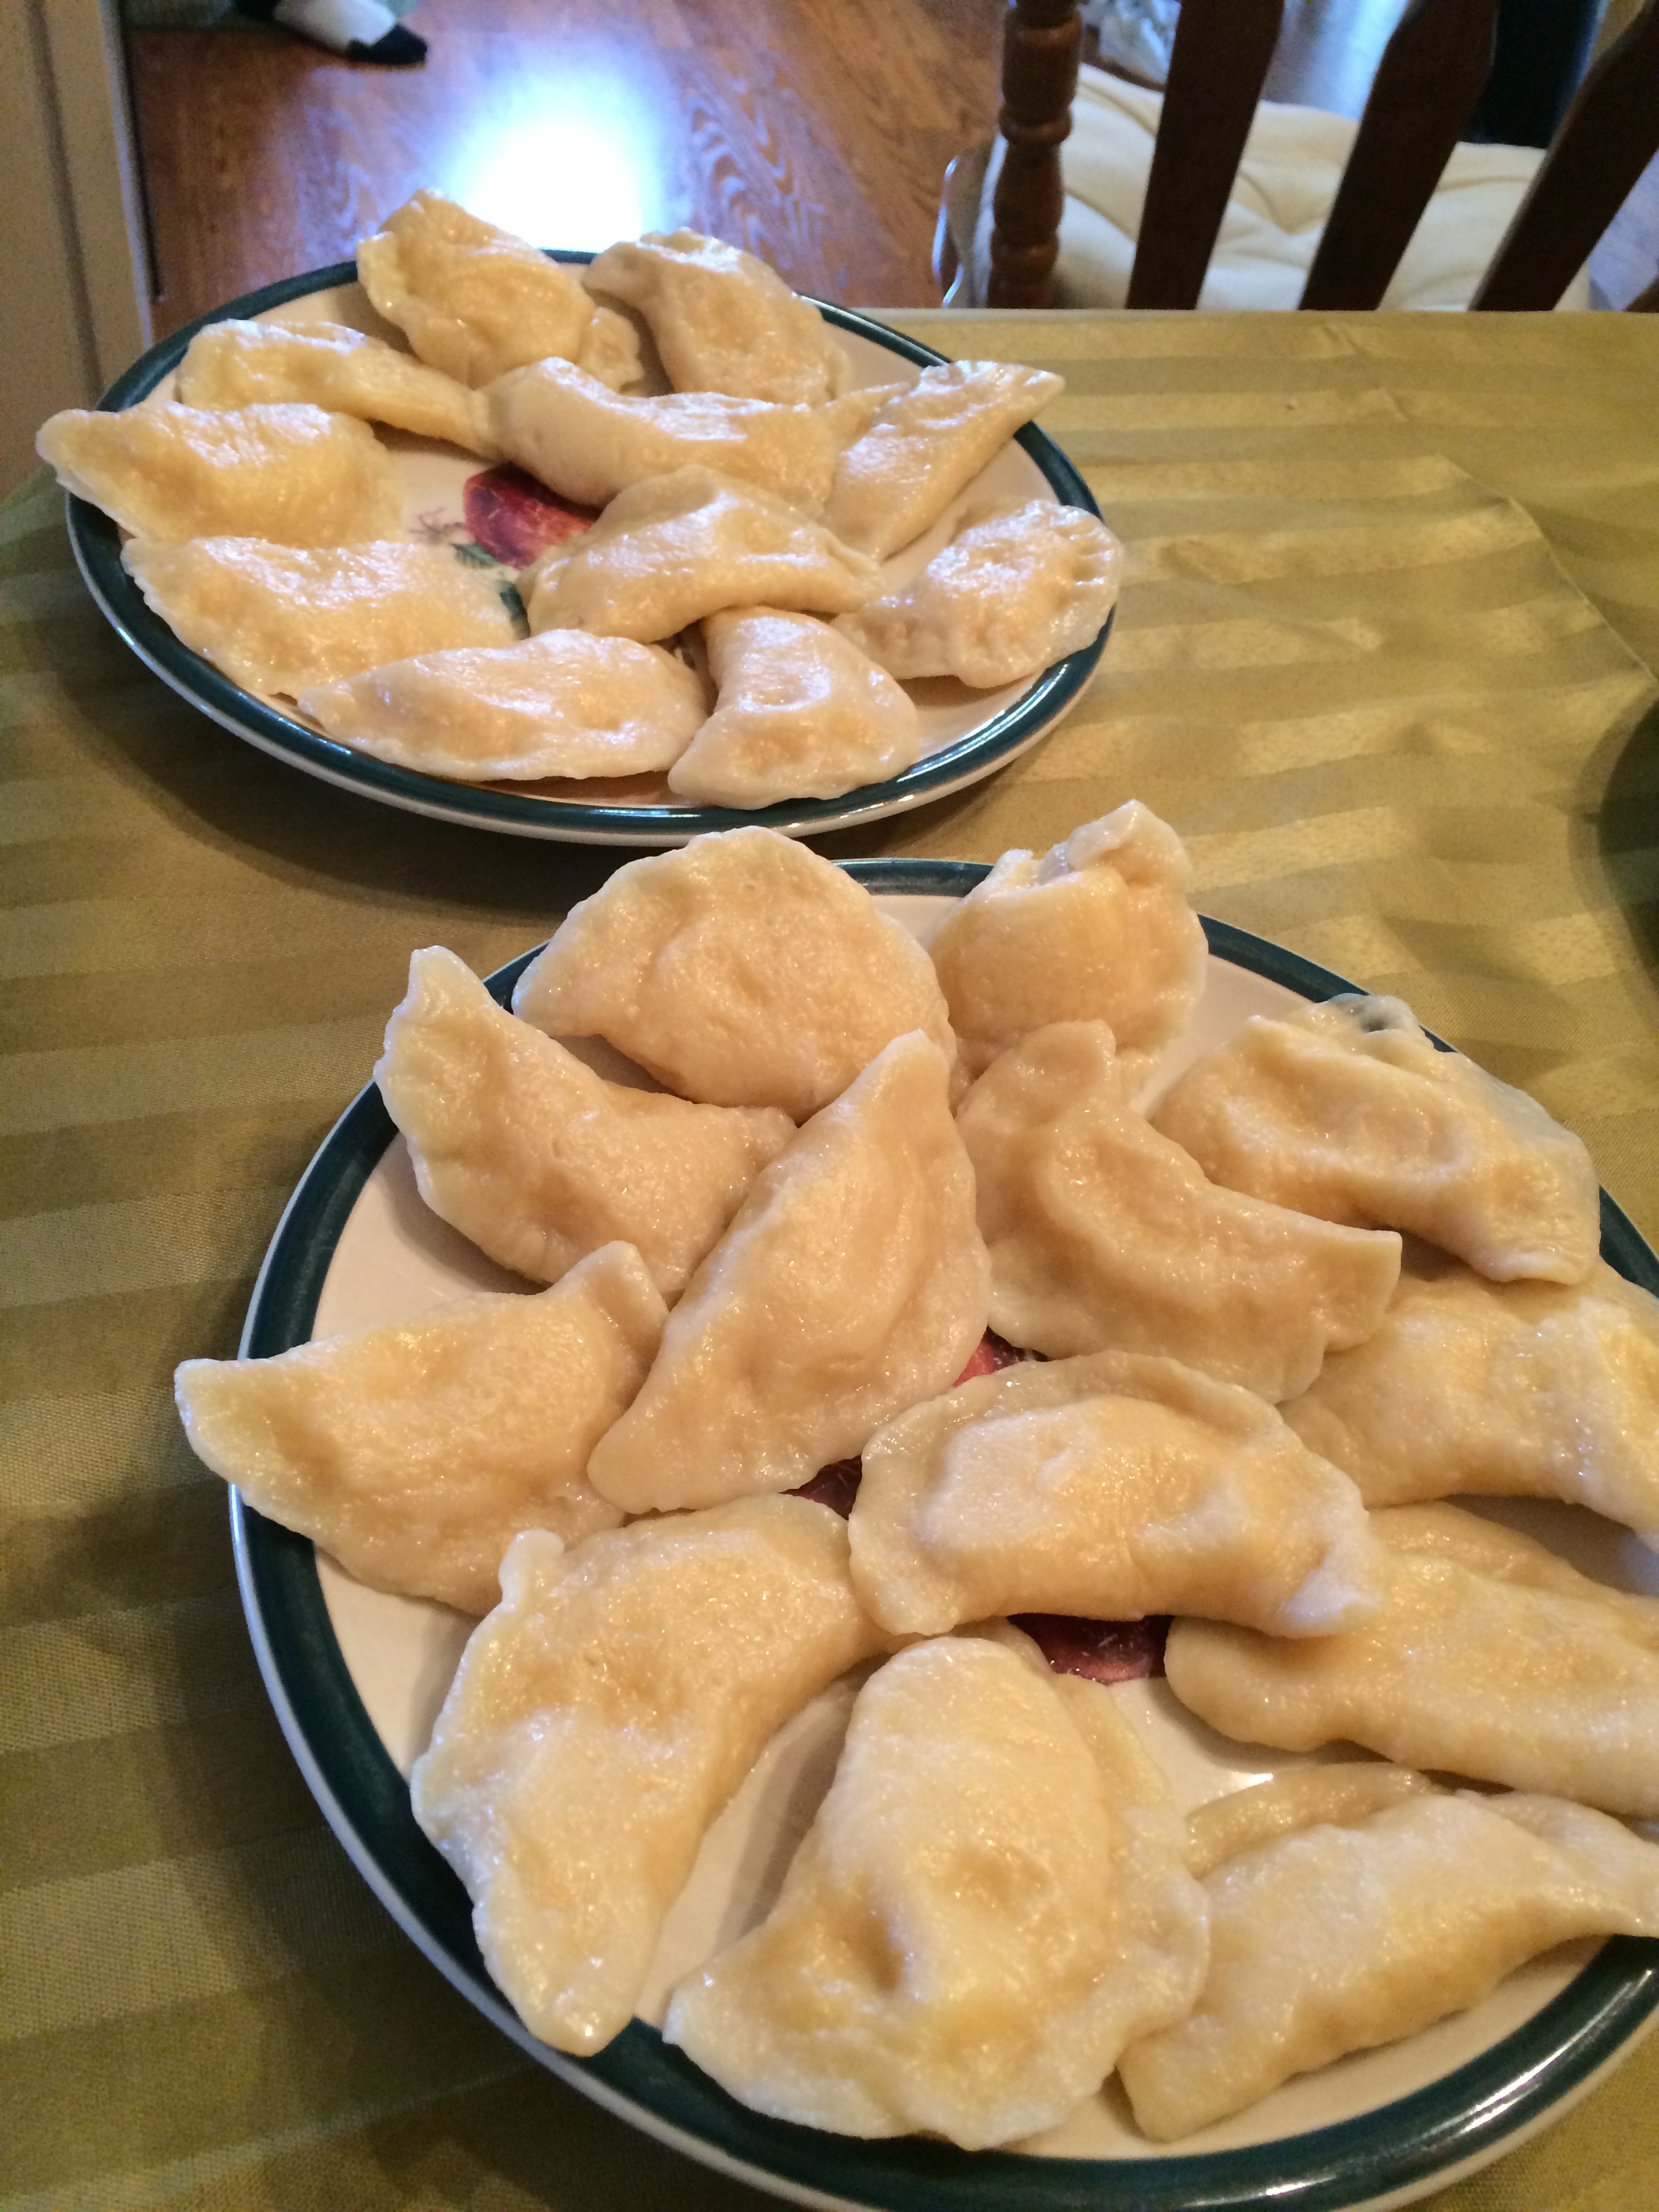
Pierogies for days!
Step 7: Storing
- After placing the pierogies on a plate to dry, flip them over after about 10 minutes.
- When you flip them over, transfer them to a new, dry plate so that they o not sit in the excess liquid.
- After they have completely cooled of you can stack them in a bowl.
- To store them for a longer period of time place them in a Ziploc freezer bag. 2 dozen per bag maximum.
Nomnomnom.
Viola, amazing pierogies! Mrs. T’s has nothing on Mama Popis’ and Grace’s pierogies. We even made blueberry and strawberry filled pierogies. We just used fresh fruit with some sugar for the filling. Just imagine dipping the strawberry ones in Nutella, yum!
Mary Kay was a great Pierogi hand model.
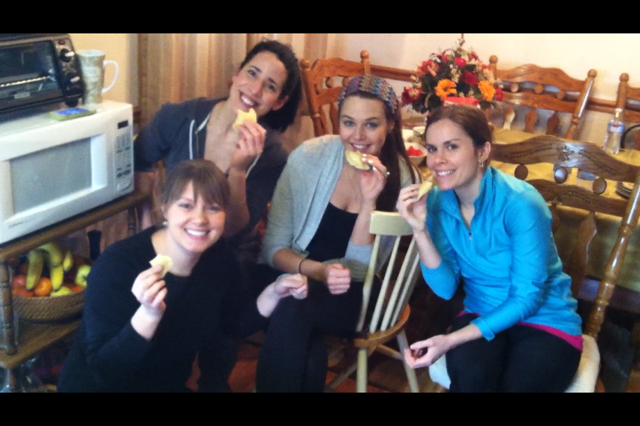
Here are some outtakes of us girls trying to act like we knew what we were doing.
Say cheese!

Leah was very proud of this fluffy pierogi!

I was concentrating way to hard.
Jenny did not like getting her hands all gooey.
Ready, set, pierogi!
It was a fantastic day, and we all loved sharing in Jenny’s culture, learning some expert tips in the kitchen and hearing some awesome stories from Grace and Momma Popis about life and traditions in Poland. All in all, we estimated that we made over 200 pierogies!
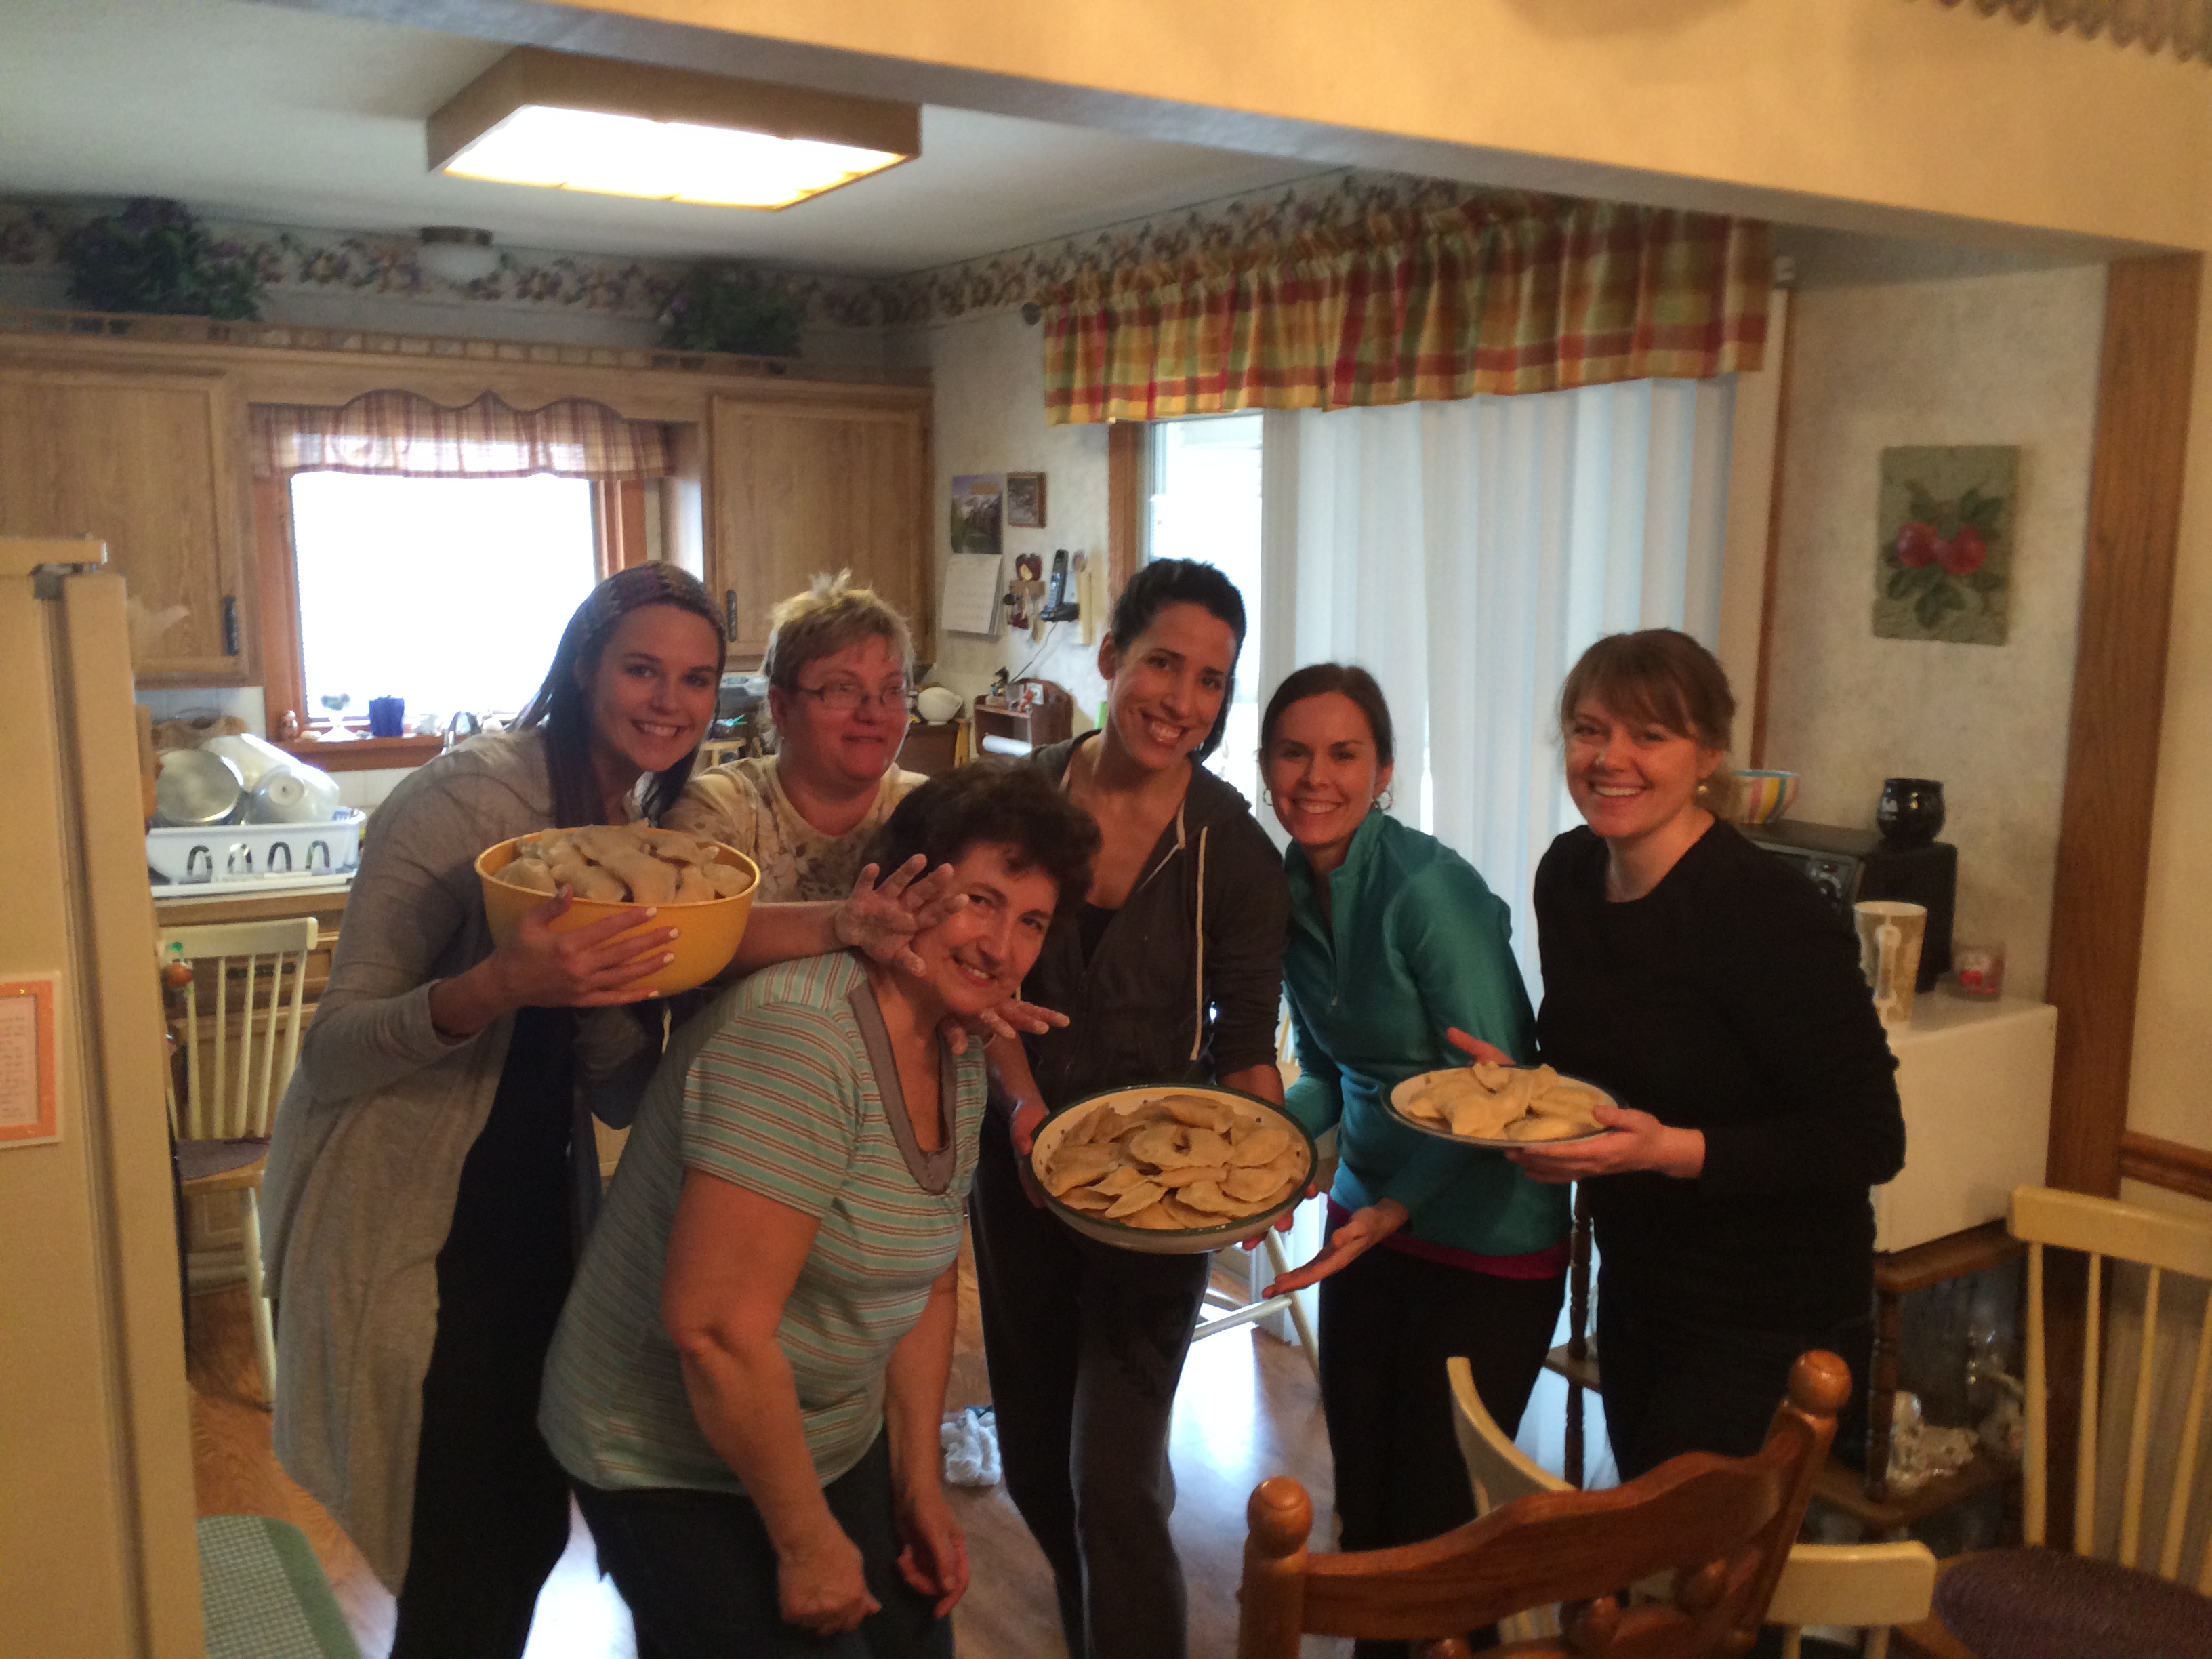
The whole crew with the fruits of our labor!
Not soon after this picture we proceeded to eat Reese’s peanut butter ice cream. I should have expected a Popis adventure to end with not only ice cream but peanut butter to boot. But I would not have had it any other way.


That looks so fun – and delicious! My boyfriend is polish so he would LOVE this (well I would too haha).
Who doesn’t love pierogies?! Let me know if you try it out.
How fun!!! I bet they were delicious!
They were! We cooked some up for dinner on Sunday evening and Jared was in heaven. He is already making plans for what he wants in my first attempt at making them on my own.
Pingback: Pierogies | Happenings on the Hill